First, thanks for choosing our product.
After the Ewebot theme purchase, you will have two options to download the product:
- Installable one, you will download the installable theme zip file;
- The main theme zip file, where you will find the extra folders with the license information, slider demo content etc.
Here are the steps on how to install the theme to your WordPress website.
Add a theme via WordPress dashboard#
- Navigate to the Appearance -> Themes section, on your WordPress dashboard.
- Click on the "Add New" button at the top.
- Search for "Ewebot" zip in the new pane.
- Click on the "Install" button, then click on "Activate".
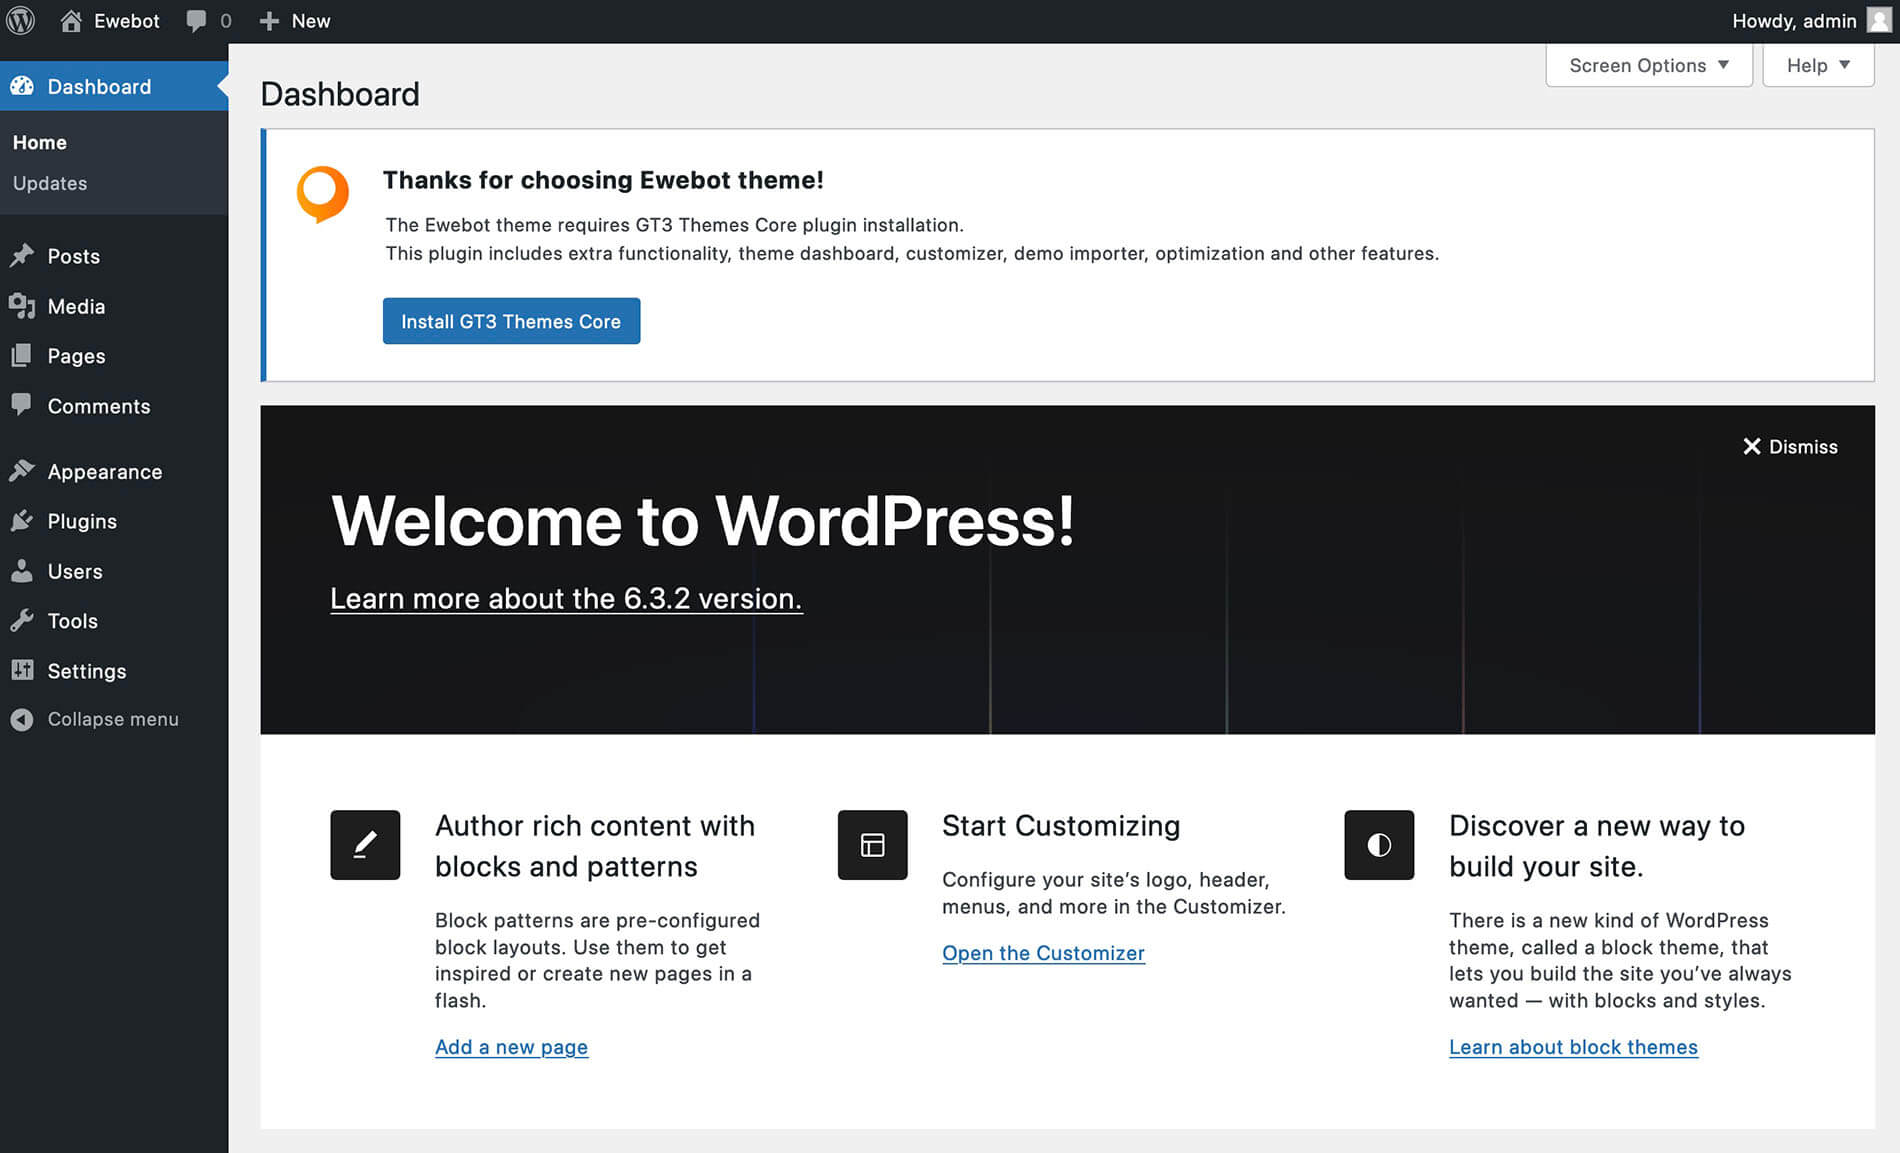
- At the very top of the WordPress dashboard, you will see a message box to install GT3 Themes Core plugin. This plugin is required.
Upload WordPress theme via FTP#
- Please unzip the installable zip file that you’ve downloaded "ewebot.zip". In case, if you’ve downloaded the main zip file "Ewebot WP.zip", please unzip it and use the installable one located in the following folder "Theme v…" .
- Connect to your WordPress website using FTP and upload the unzipped "ewebot" theme folder to the theme directory "/wp-content/themes/" of your WordPress website. You can use any FTP client to do that.
- Log into your WordPress dashboard, navigate to the Appearance -> Themes section and activate "ewebot" theme.
- Please follow the step 5 in the guide above.
Please do not rename the parent theme folder, it will cause the issues with the theme functionality. We recommend using a child theme for that purpose.


