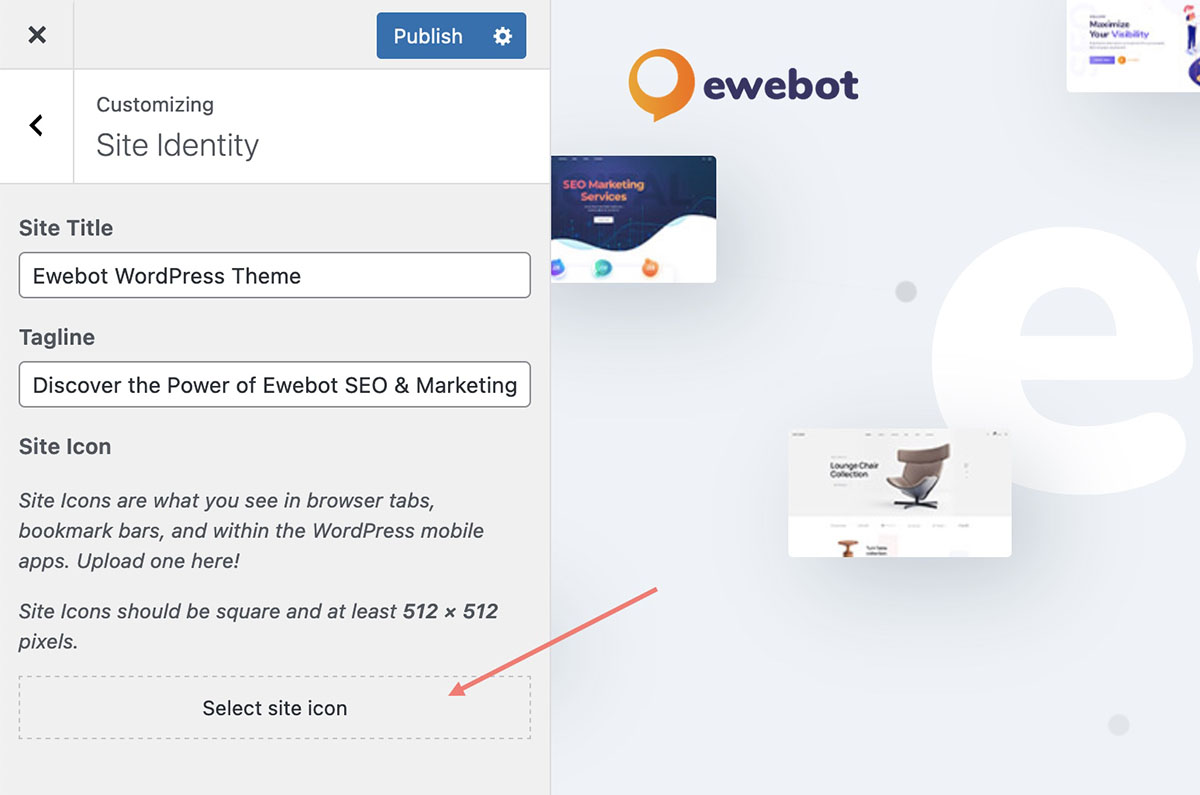
What is site icon (favicon)?#
A favicon, short for "favorite icon," is a small, square image that represents a website or webpage. It appears in various places within web browsers, such as next to the website's name in the browser tab, on bookmark lists, and sometimes in browser history. Favicons serve as a visual branding element for your website, making it easily identifiable among multiple open tabs or bookmarks.
How to add a favicon to your WordPress website:#
- Create or Choose Your Favicon Image: First, you'll need to create a favicon image or choose an existing one. Favicons are typically 16x16 pixels or 32x32 pixels in size, and they should be in the .ico file format. Alternatively, you can use a PNG or JPEG image, but make sure it's square and at least 512x512 pixels for better quality.
- Convert Image to .ico Format (if necessary): If your image is not in the .ico format, you can use various online favicon generators to convert it. Simply search for "favicon generator" online, upload your image, and the tool will create an .ico file for you.
- Access Your WordPress Dashboard: Log in to your WordPress admin dashboard.
- Go to the Theme Customizer: In the dashboard, go to "Appearance" and then select "Customize." This will open the WordPress Theme Customizer.
- Select 'Site Identity': In the Theme Customizer, you'll find a list of options on the left-hand side. Look for "Site Identity" or something similar. Click on it.
- Upload Your Favicon: Within the "Site Identity" section, you should see an option to upload or select a site icon or favicon. Click on this option, and a media uploader will appear.
- Upload or Select Your Favicon Image: Use the media uploader to upload your favicon image. If you've already uploaded the image to your WordPress media library, you can select it from there.
- Crop and Save: WordPress may ask you to crop the image to the required size for the favicon. Adjust the cropping as needed and click the "Crop Image" button.
- Publish Changes: Finally, click the "Publish" button at the top of the Theme Customizer to save your changes. Your favicon is now set for your WordPress website.
- Clear Your Browser Cache: To ensure that your new favicon appears immediately for all visitors, it's a good idea to clear your browser cache or open your website in a private browsing window to see the updated favicon.
That's it! You've successfully added a favicon to your WordPress website, helping to improve its branding and recognition across web browsers.

