How to Assign WPDaddy Footer#
When your website footer is ready, you can assign it either globally to the whole WordPress website or specific page. Please follow these steps to do that.
Use It As a Default Footer For the Whole Website#
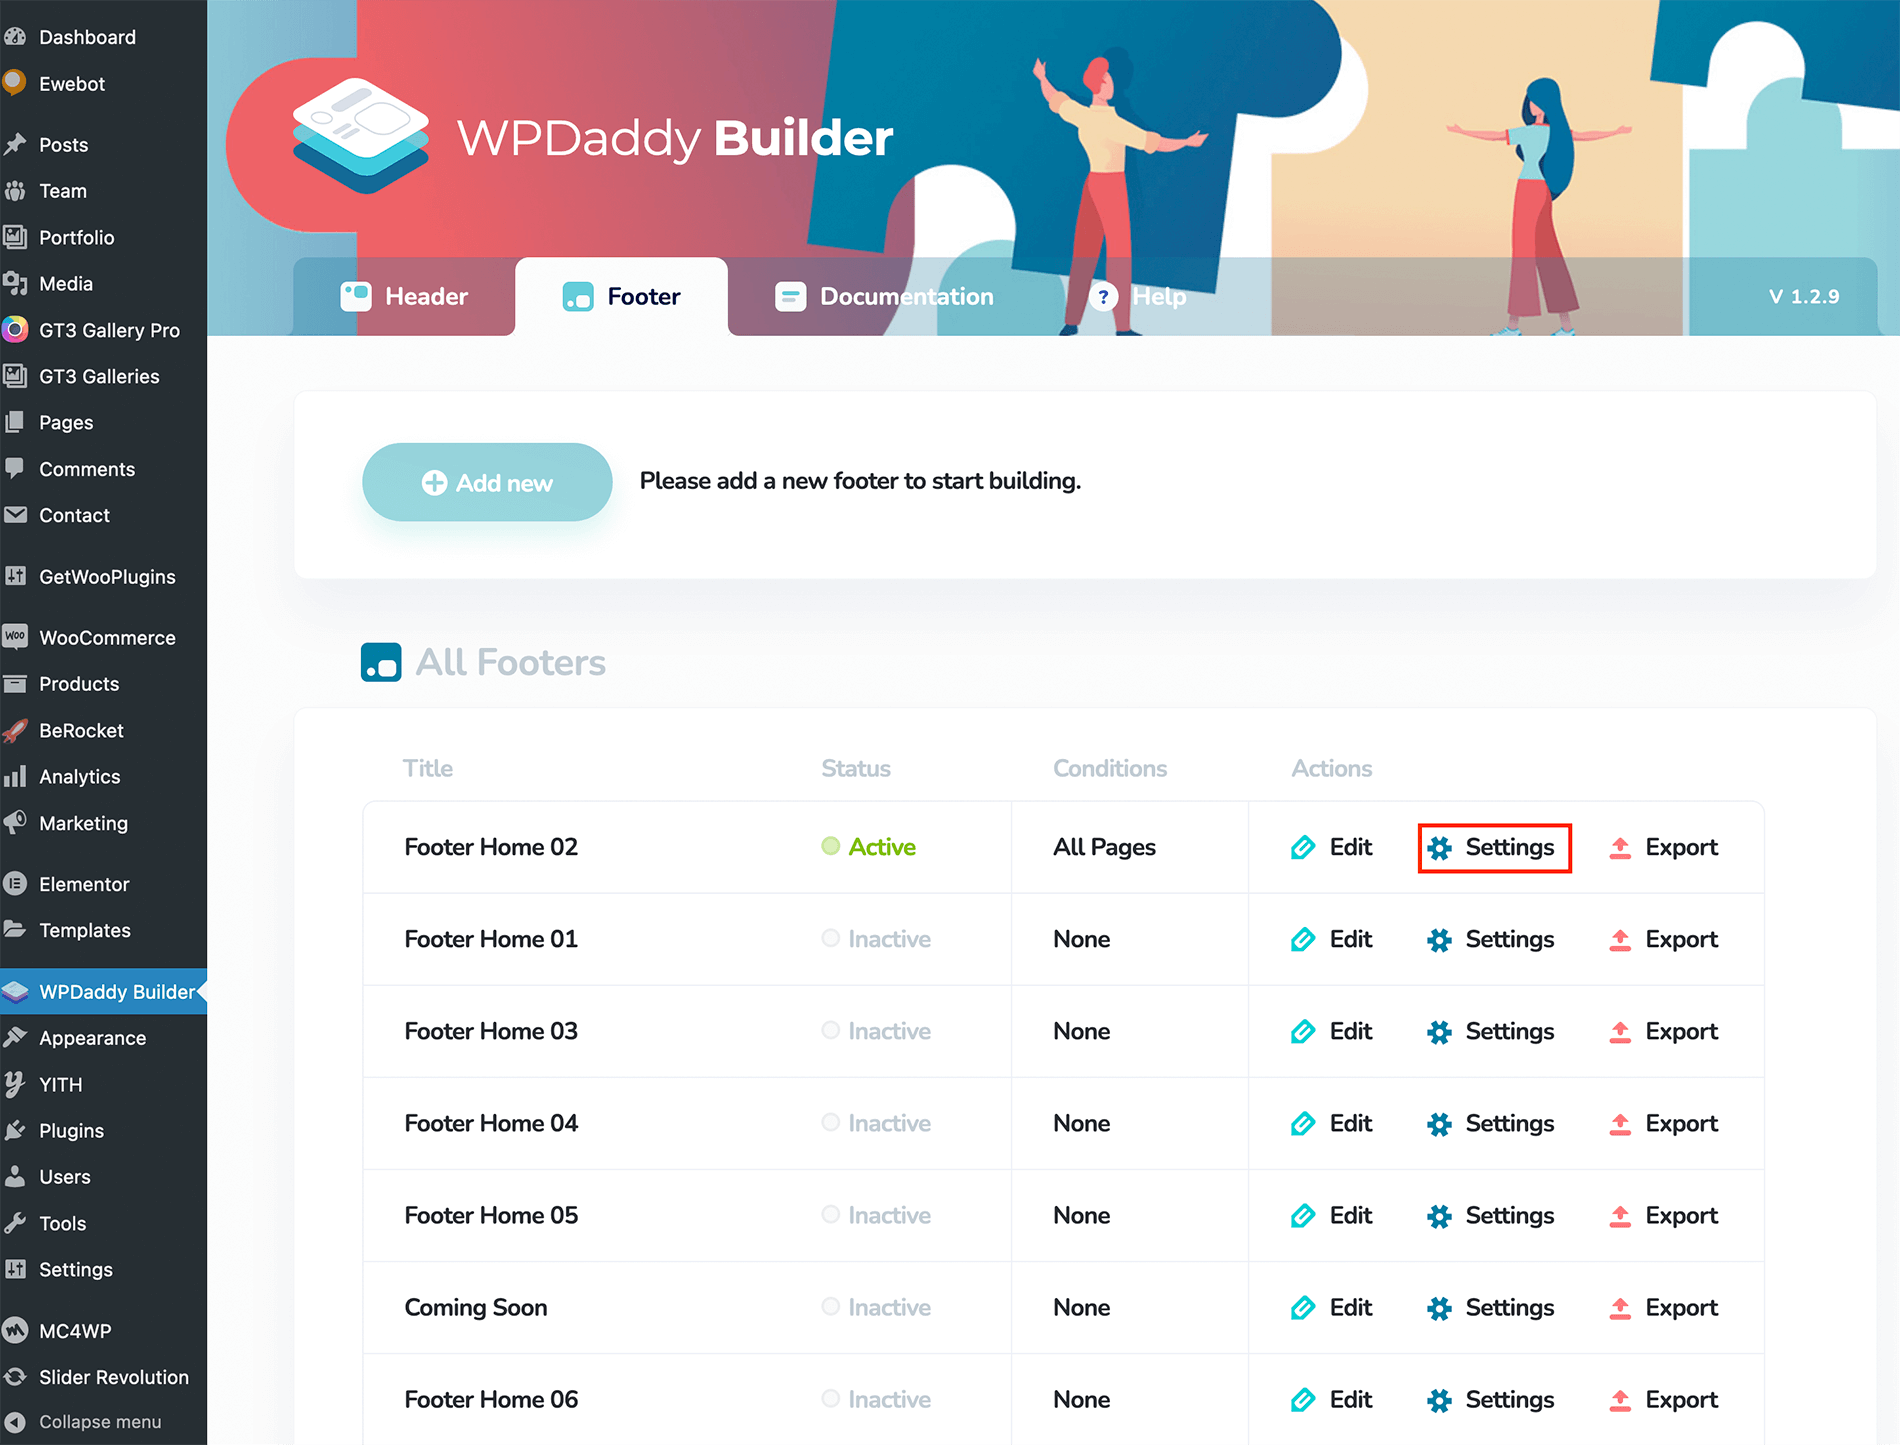
- Please open WPDaddy Builder section in your WordPress dashboard and click "Settings" in the footer that you want to assign.
- You will get a popup window with the settings for that specific footer.
- Make the proper changes and click "Save Settings".
The status "active/inactive" shows the global activity. If the footer is assigned to the specific page, the status will be "inactive" here.
Use the Footer On the Specific Page#
- Please open that page in Elementor editor.
- You will see a WPDaddy Builder control panel icon.
- Click that icon, in the popup window please assign the footer.